
I mean, its time someone did it the way it made sense? You can trawl the internet all you like, you may find that 85% of the recipes that you find about baking your first sourdough loaf, are, you guessed it – extremely hard to follow!
They ask that you have all these perfectly measured ingredients and scales, and temperatures and things like that. I know because I have done the rounds, done the hard work and would like to share with you what has worked for me. In my environment. I also want to take away that big fear of sourdough. Humans have been baking it since time immemorial! We didn’t have kitchen scales then people!! Stop the worrrrrryyyyyiiiinnnnggggg.
Yes it takes time, yes it is a laborious process, yes you should read up about different components of what makes the bread work. However, it isn’t rocket science and shouldn’t feel like it either. This post also contains my first ever cooking video! Bear with me while I learn these ropes 😀 The idea is to make life easier for all the sourdough enthusiasts and mainly my customers who have been purchasing strains of our beloved starter Mr. Bubbles and asking for a simple recipe to follow. Yes you can buy sourdough starter from me at a very reasonable price because if you’re baking, you might as well do it the better way.
I can still remember the glorious sensation of a) first successfully making a healthy, active starter and b) baking the first ever sourdough loaf at home. Tim would vouch for how absolutely, ridiculously obsessed I was in those weeks leading up to the first loaf. I was reading and reading, calculating things in my head, selecting and discarding different so called “beginner” recipes because they look so bloody challenging and impossible to sustain. I had this glazed look in my eyes, and that’s what I dreamed of during my lunch breaks. My head felt so heavy at times, I was scared because I had a history of bread loafs that didn’t rise, and were too dense. Added to that the complicated measuring and directions for sourdough – I mean, who has the time to knead and shape the dough 5 times over a day? Good for you if you do, because I sure don’t! Sourdough’s charm and magic is in the time that it takes to ferment. Let this fact work for you.
Do not listen to anyone who says “discard your starter daily”. Please don’t, we don’t need that kind of food waste. You can make so much out of that extra starter, just use it.
Ok so we begin.

Taking Care of your starter:- If you have just purchased a starter (you can purchase from me if you live in Australia), you need to take care of it. You will keep it on the counter/in the pantry either in a bowl or a jar with a muslin cloth on top if you are going to bake weekly. Feed it 1 tbsp of flour+ 1 tbsp of water daily, at roughly the same time if you can. Stir and combine. If not baking frequently, feed it that amount of flour and water and keep it in the fridge for a week. Take it out weekly and let it come to room temperature and feed it, once you see bubbles on it, put it back in the fridge for another week. You can freeze it if you are going away and thaw when you come back, keep on the counter, and feed daily to regain strength.
Baking the Bread:- I have made a few different videos, for you to watch as you go along in your process. Instead of making a whole big video, I thought this easier. Baking sourdough is a minimum 24 hour process and you don’t want to keep repeating and finding the spot in one video. I’ve done it, it’s annoying.

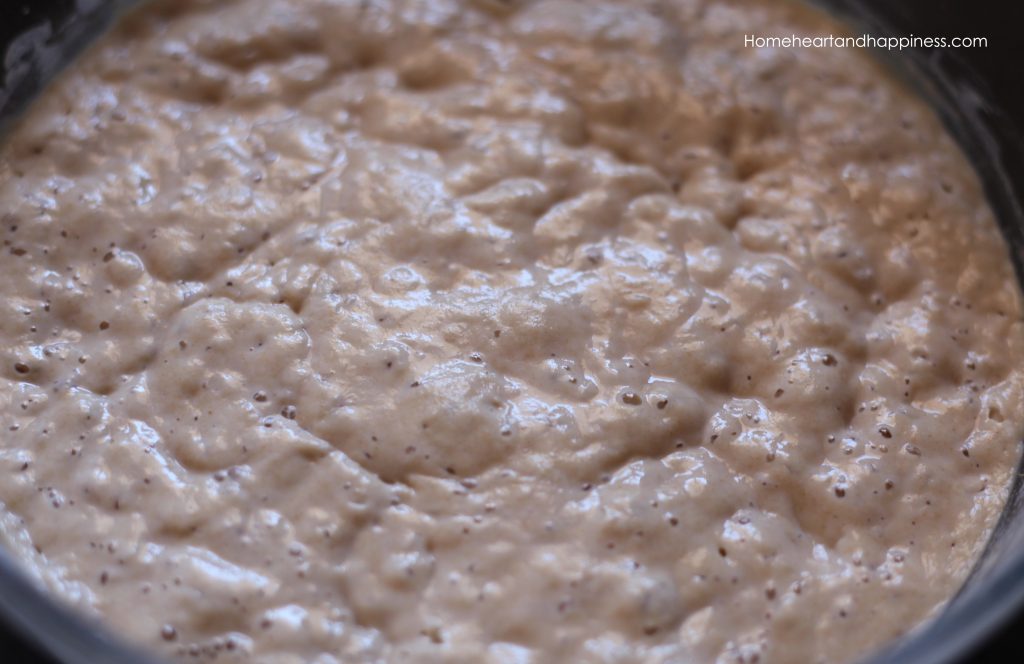
Step 1:- First we make the levain, or the sponge. Which is simply making a baby start from your main starter. Take out two tbsp (or more if you have a lot of starter to use up!) of your starter in a bowl. Keep taking care of your mother starter.
In the bowl with the 2 tbsp of starter add 4 tbsp of flour + 4 -6 tbsp of room temperature water. Combine. Leave for 12 hours. Will become bubbly and beautiful. Watch the video.
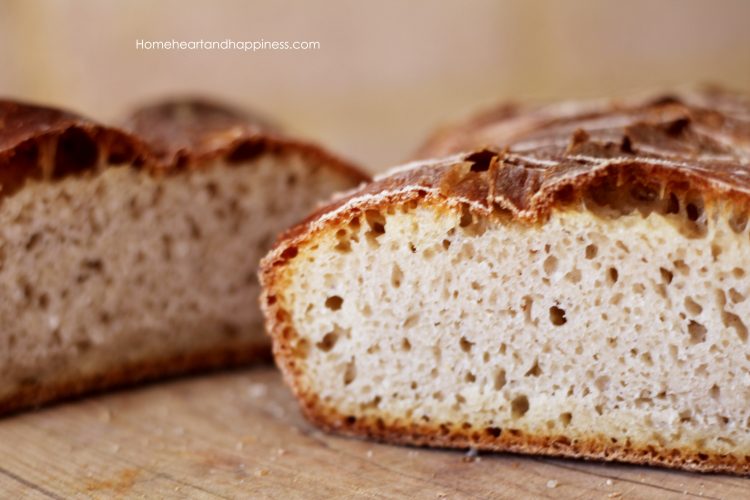
Remember, the more starter you use, the tarter your bread will be!
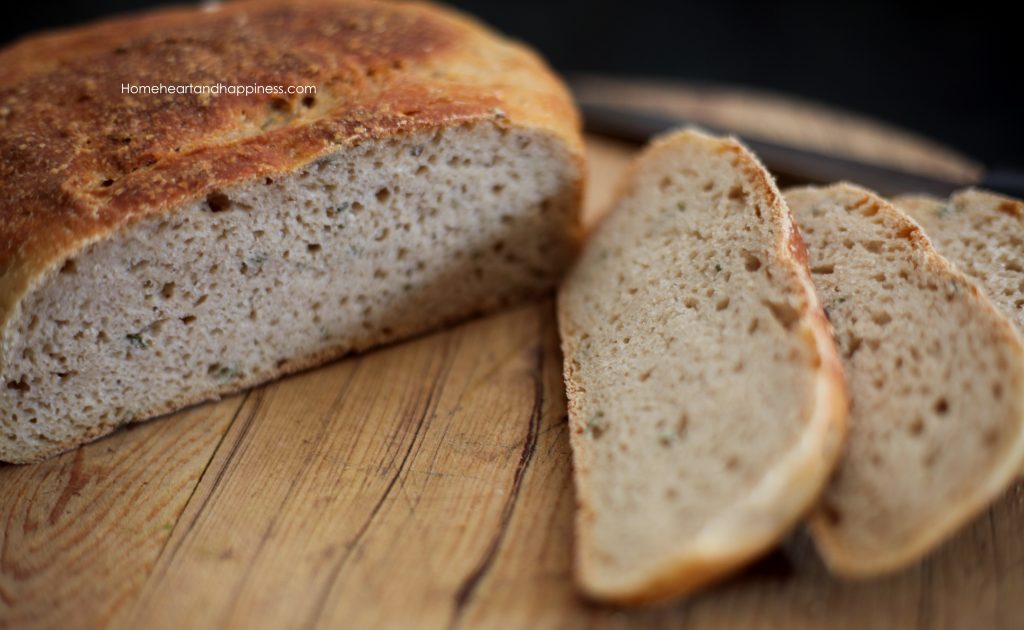
Step 2 :- After 12 hours, we are ready to make the dough. In the sponge, slowly start adding flour and mixing. Add salt to taste/ seasonings/ oil/ Herbs etc at this stage as well if you are making anything different. As you mix, you will form a shaggy dough. Turn it out onto the counter and knead gently. You don’t want to be too rough with sourdough. Repeat a stretching, folding pattern on the dough rather than punching it down. Keep at it for 15 – 20 minutes. The gluten would have developed by then and you would find that it is easier to handle the dough.
Step 3:- Stretch and fold as shown in the video below.
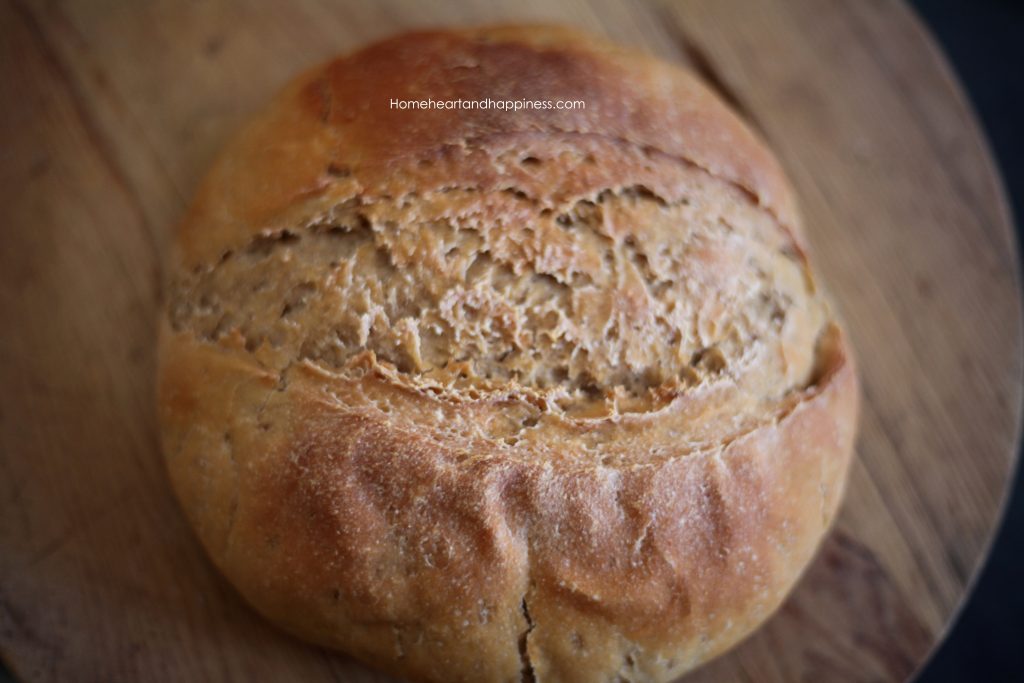
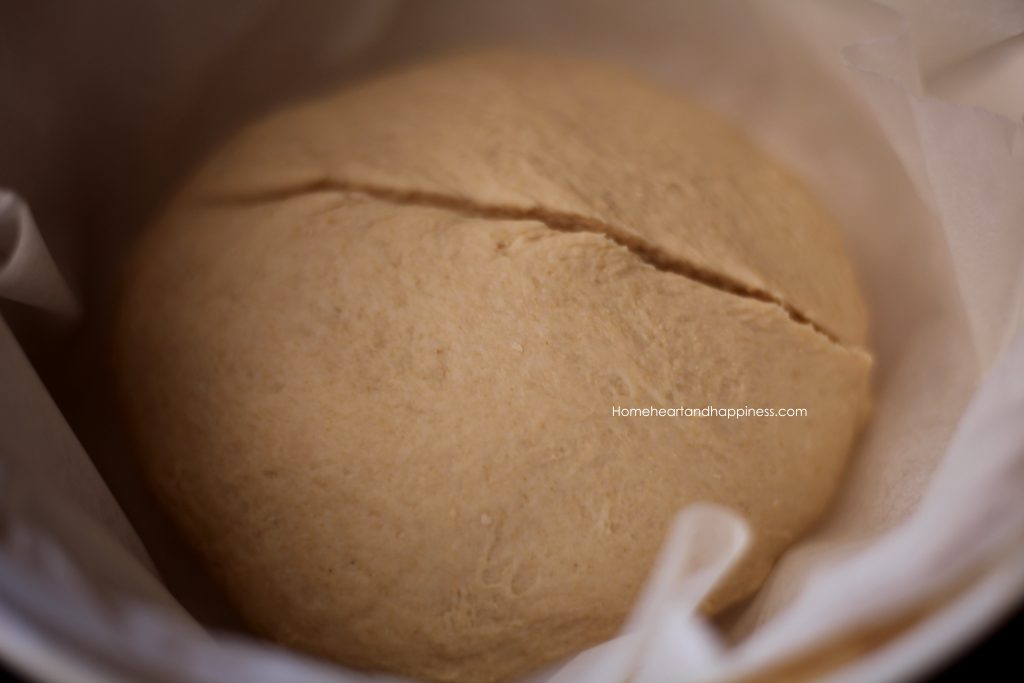
Step 4:- Then shape and oil to prevent drying out if desired. Line a dutch oven or bread pan with a lid with baking paper, which you can reuse. Helps with washing up too! Otherwise you can also dust it with a considerable amount of flour or grease and then flour. At this point, you can either leave it covered to rise for 6 – 10 hours, 2 hours into the rise you can opt to make a few scours with a sharp knife on the top to give it room to rise well. you can choose to give it another gentle stretch and fold at 4 hours and then let it rise for another 4. I do as I feel like on the day.
When ready to bake, pre heat the oven to 200C fan forced. Pop in your dutch oven when hot. Baking times slightly vary from oven to oven so it pays to monitor the first few times you bake. I bake mine 20 minutes covered and then remove the cover and bake for about 15 minutes, watch for the colour of the crust. You can toss a few ice cubes in the oven when you take the lid off, which helps give a good crust too.
Write with any questions you might have. I am always happy to answer – post photos of your sourdough creations. I will look at doing a few more sourdough recipes in the future, to help you never throw away that precious starter full of enzymes and goodness! 🙂
Happy Baking!
Recent Comments