
Hi Guys!! Long time no see you say! Well, I have had good reason. That is our baby cub Leora! 🙂 She has just turned 3 months old and this mama decided it is time that there was a new blog post. Admittedly a long overdue and important one.
If you are reading this, it is likely that you purchased some sourdough starter from me and are wanting to get down to business! Aren’t you in for a treat. Yes, there will be times when you might just wonder if it is too hard, but preserver and you will witness real magic happening. What’s more, you will be the magician. There is indeed no comparing the feeling of accomplishment when you first beautiful sourdough loaf comes out and you slather it with butter and jar and bite in to that crunchy yet fluffy slice.
One more note – if you are a front line worker or an essential worker (meaning if you are currently working in the Covid 19 lock down time, please mention this while making your purchase I will do you a special deal, just as a small thank you from us all!
So without farther ado, here we go.
Reviving your Starter
Thank you for your purchase. 🙂 If you bought it from me.
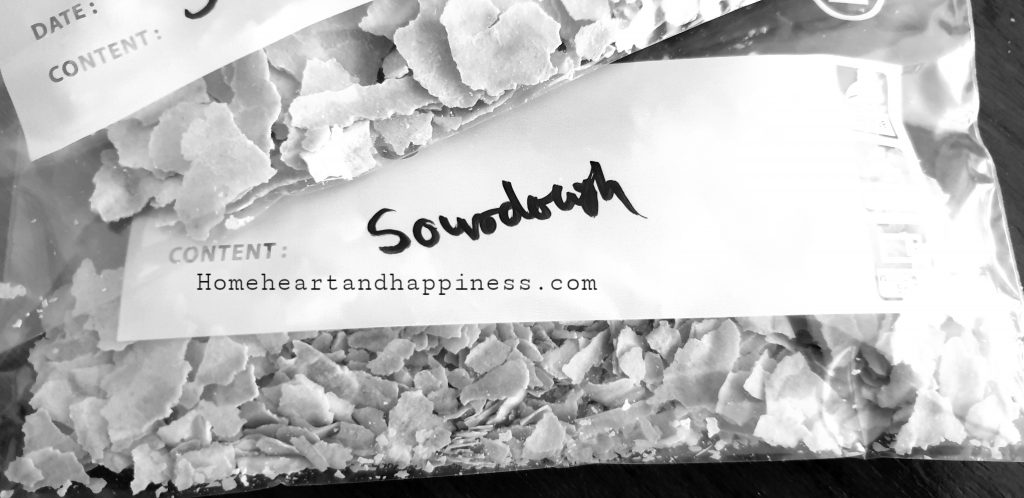
This is a whole wheat starter, it is in a dried state for safe transport. Revive it with whole wheat flour for best results. Once revived, you can switch the flour to your preferred flour by feeding it that flour.
Day 1: In a jar, soak 1 ½ teaspoons dried starter (save the rest as a backup) in 1 ½ Tablespoon room temperature purified or tap water for a few minutes to soften. Make sure the water has had 15 -20 minutes to sit in a glass or something so that the Chlorine (if any) can evaporate. Then stir in 1 Tablespoon whole wheat flour, cover with a muslin cloth and let sit at room temperature for 24 hours.
Day 2: To the above mix, stir in 1 Tablespoon of flour and 2 teaspoons of water and let it continue to sit covered as before for another 24 hours.
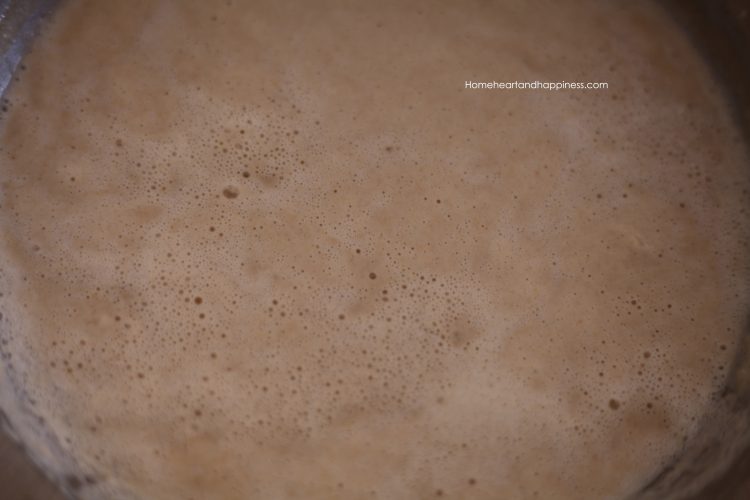
Day 3: Stir in 1 more Tablespoon of flour and just 1 teaspoon of water this time. Within the next 12 to 24 hours you will likely start to see some bubbling action of fermentation. The warmer the room, the faster the activation. Bubbles on top means activation! Depending on the temperature of your area, this can take up to 3 – 7 days.
Now transfer your activated starter to a small bowl and stir in 1/3 cup flour and 1/4 cup of water. Within about 12 hours you should have a lively, bubbly, happy starter.
Continue to build the starter with once or twice daily feedings until you have a sufficient quantity to use for baking. You may double or triple the quantity of starter with each feeding.
Good luck with your bread making!
Hello Diva,
How do I purchase some of your starter?
Thanks,
Rob
Hello Rob, Thanks for your interest. I will email you on your email address that you have put on here and organize the purchase for you 🙂